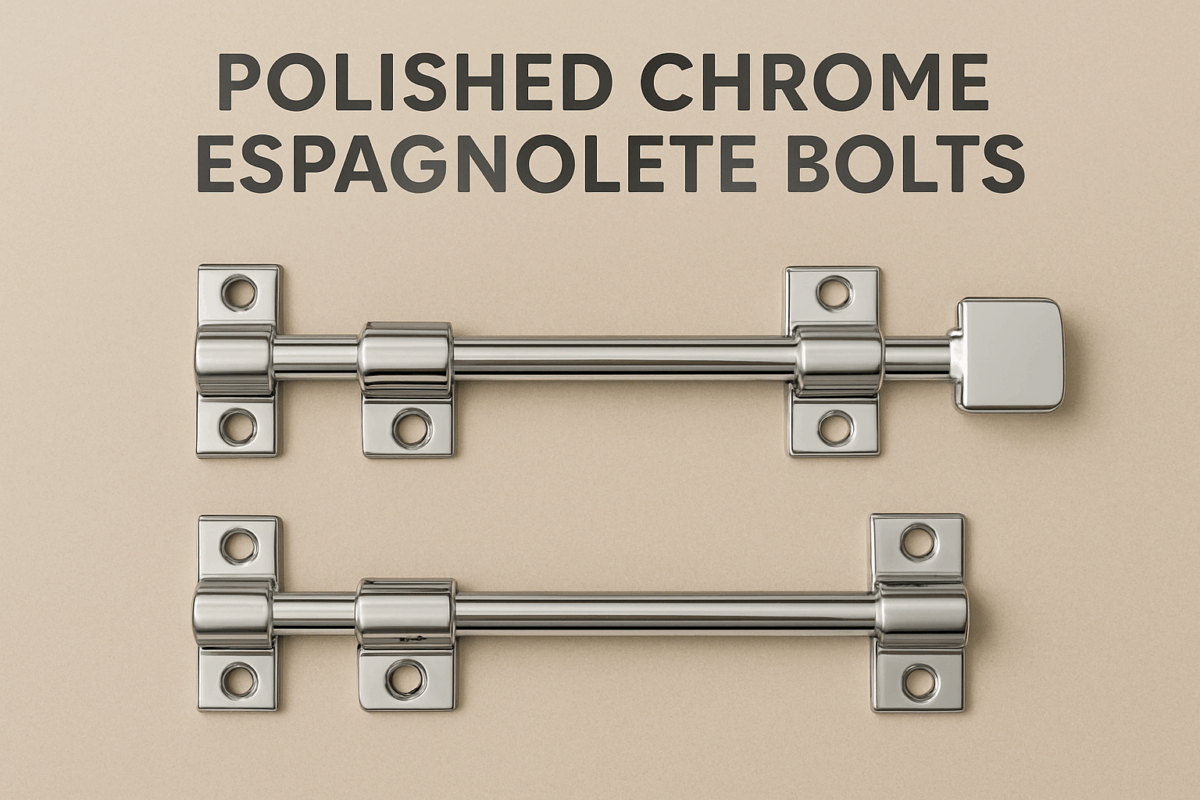
polished chrome espagnolette bolt
How to Install a Polished Chrome Espagnolette Bolt: Step-by-Step Guide for Beginners
Aug
Installing a polished chrome espagnolette bolt might seem daunting if you’re new to door or window hardware. But with the right tools, clear steps, and a little patience, you can achieve a professional finish that looks great and works flawlessly.
At Espagnolette, we specialize in providing top-quality polished chrome espagnolette bolts designed to enhance the security and style of your home. This comprehensive guide will walk you through everything you need to know—from preparation to finishing touches—so you can install your bolt with confidence.
Why Choose a Polished Chrome Espagnolette Bolt?
Before we dive into installation, let’s quickly explore why polished chrome espagnolette bolts are a popular choice:
- Elegant Finish: The polished chrome offers a sleek, modern look that complements most door and window designs.
- Durability: Chrome plating resists corrosion, keeping your hardware looking shiny and new for years.
- Security: Espagnolette bolts secure multiple locking points, increasing safety.
- Smooth Operation: Designed for ease of use with minimal effort.
Now, let’s get started!
Tools and Materials You’ll Need
Gathering the right tools before you begin makes the process smoother and helps avoid mistakes.
- Polished chrome espagnolette bolt kit
- Measuring tape or ruler
- Pencil or marker
- Electric drill with appropriate drill bits
- Screwdriver (Phillips or flathead, depending on screws)
- Chisel (optional, for recessing hardware)
- Masking tape
- Safety goggles and gloves
- Level (optional but helpful for precision)
Step 1: Prepare Your Workspace
Start by clearing the area around the door or window you’ll be working on. Remove any obstructions and lay down a protective cloth if needed to catch dust or debris.
Safety first: Put on your goggles and gloves. Drilling into doors or windows can create dust and tiny metal fragments.
Step 2: Measure and Mark the Position
Accurate measurement is key to a smooth installation.
- Close the door or window securely.
- Decide on the ideal position for the espagnolette bolt handle—usually about waist height for easy access.
- Use your measuring tape to mark the exact spot on the edge of the door or window frame.
- Transfer these marks to the face of the door or window where the handle will be installed.
- Use a level if needed to ensure the markings are straight and aligned.
Pro Tip: Double-check all measurements before drilling.
Step 3: Drill Holes for the Bolt Mechanism
Now that you’ve marked your positions, it’s time to drill.
- Use a drill bit suitable for the door material (wood, metal, or PVC).
- Drill carefully into the edge of the door or window frame to create space for the espagnolette bolt mechanism.
- For the handle, drill holes through the face where you marked the position.
- Start with a smaller drill bit for pilot holes, then move to the size specified in your bolt kit instructions.
Avoid rushing—slow and steady prevents cracks and misalignments.
Step 4: Recess the Hardware (If Needed)
Some espagnolette bolts require a recessed area to fit flush against the door or window.
- Use a chisel to carefully carve out a shallow recess following the shape of the bolt or handle base plate.
- Test-fit the hardware as you go to avoid over-chiseling.
Step 5: Attach the Espagnolette Bolt Mechanism
With your holes drilled and recess ready:
- Insert the bolt mechanism into the edge hole.
- Align the bolt so it moves smoothly along the edge when operated.
- Secure the mechanism in place with screws provided, tightening them evenly.
- Attach the polished chrome handle onto the face of the door or window, securing with screws.
Step 6: Install the Keepers/Strikes on the Frame
The keepers or strikes are the parts fixed on the door or window frame that catch the bolt when locked.
- Close the door or window gently.
- Extend the bolt fully and mark where it touches the frame.
- Drill holes or recesses in the frame to fit the keepers, ensuring alignment with the bolt.
- Secure the keepers with screws.
Proper alignment here is crucial for smooth locking and unlocking.
Step 7: Test Your New Espagnolette Bolt
After installation:
- Test the bolt multiple times to ensure smooth operation.
- Check that the bolt fully engages with the keepers and holds securely.
- Make any minor adjustments to screws or recesses as needed for optimal performance.
Troubleshooting Common Issues
- Bolt won’t slide smoothly: Check for misalignment or debris in the mechanism. Lubricate with silicone spray if necessary.
- Handle feels loose: Tighten screws or replace stripped screws for a secure fit.
- Bolt doesn’t catch in keepers: Adjust keeper position or recess deeper for better engagement.
Maintenance Tips for Polished Chrome Espagnolette Bolts
To keep your bolt looking shiny and working perfectly:
- Wipe regularly with a soft, damp cloth.
- Avoid harsh chemicals that can damage chrome finish.
- Lubricate moving parts once every few months to reduce wear.
- Inspect screws periodically and tighten if needed.
Why Trust Espagnolette for Your Hardware Needs?
With years of experience providing premium door and window hardware across London and beyond, Espagnolette prides itself on:
- High-quality, durable polished chrome finishes
- Easy-to-install, reliable products
- Dedicated customer support and expert guidance
- Trusted by homeowners, builders, and contractors alike
Final Thoughts
Installing a polished chrome espagnolette bolt might feel challenging at first, but by following this detailed guide, you’ll achieve professional results with enhanced security and style.
Remember: measure twice, drill carefully, and take your time. Your door or window will thank you!
Ready to upgrade your hardware? Explore our collection of polished chrome espagnolette bolts and accessories designed for effortless installation and lasting performance.